


Instructions - PT Download and Installation

Pro Tools Install & Activating Floating License Pro Tools Install
If you are having general technical or IT issues please Email - camdsupport@northeastern.edu
For help installing Pro Tools and configuring please contact:
 | |
 |
If you are on campus you can use the below step 1. If off campus you will need to download VPN software in Step
Step 1 - Download
Download Pro Tools and Pro Tools Plug-ins from the link: https://bit.ly/CAMDProTools
NOTE: You must sign in using your Northeastern credentials for this link to work.

Step 2 - Install Pro Tools Software and Ilok Manager
Install Pro Tools on your local drive. (Follow all prompts that appear)
Also install the Ilok License Manager which is needed to use Pro Tools.
Step 3 - Download/Install Plug-ins
Install the necessary Pro Tools Plug-ins
You can download them all but the most important bundles are the:
MAC
"AIR_Effects_Bundle_23.5.0_Mac.dmg" and the "AIR_Instruments_Bundle_23.3.1_Mac.dmg"
PC
"Avid_Complete_Plug-In_Bundle_18_10_Win_105369_.zip"
"First_AIR_Instruments_2018_10_Win_105822_.zip"
"Xpand!2_2018_10_Win_105821_.zip"
Step 4 - Activate NU Licences via Ilok Manager Software
Create and Ilok Acount using your school email ( will not work with other email clients)

Download and install ILok License Manager (If Pro Tools did not do this automatically)
Launch the ILok License Manager

Sign into your ILok Account


Select Ilok License Manger at the top of your screen
select preferences
select network
select my connections

click the + icon
select add server config file
upload This Config File:
com.paceap.eden.floating.v1.server.config.prefs
The server name will appear. You will then see a pop up that indicates you are connected to the server.
Click OK.
Click Apply, then click OK again.
You can now launch Pro Tools.
Step 5 - Download, Install, Activate, VPN (for off campus use only)
Software installation
If you need to install the VPN software GlobalProtect, you can follow these links to install GlobalProtect:
Initial setup and connection
Run 'GlobalProtect client'.
Navigate to and select it.
Windows: The GlobalProtect icon will appear in the notification area in the taskbar at the bottom right of your screen.
Mac: The GlobalProtect icon will appear on the menu bar at the top of your screen.
When prompted, enter the portal address: vpn.northeastern.edu (do not include https://).
Note: Northeastern University London's portal address is vpn.nulondon.ac.uk.

Connect to Northeastern VPN
After connecting the VPN to your personal computer once, the GlobalProtect widget should prompt you to connect by pressing the connect button shown below.
Note: VPN will require authentication for every new connection.
Run 'GlobalProtect client'.
Navigate to the GlobalProtect icon and select it.
Windows: The GlobalProtect icon will appear in the notification area in the taskbar at the bottom right of your screen.
Mac: The GlobalProtect icon will appear on the menu bar at the top of your screen.
Select 'Connect'.

On clicking 'Connect', your default browser will open and prompt you to sign in with Single Sign-On.

Log in with your Northeastern account.
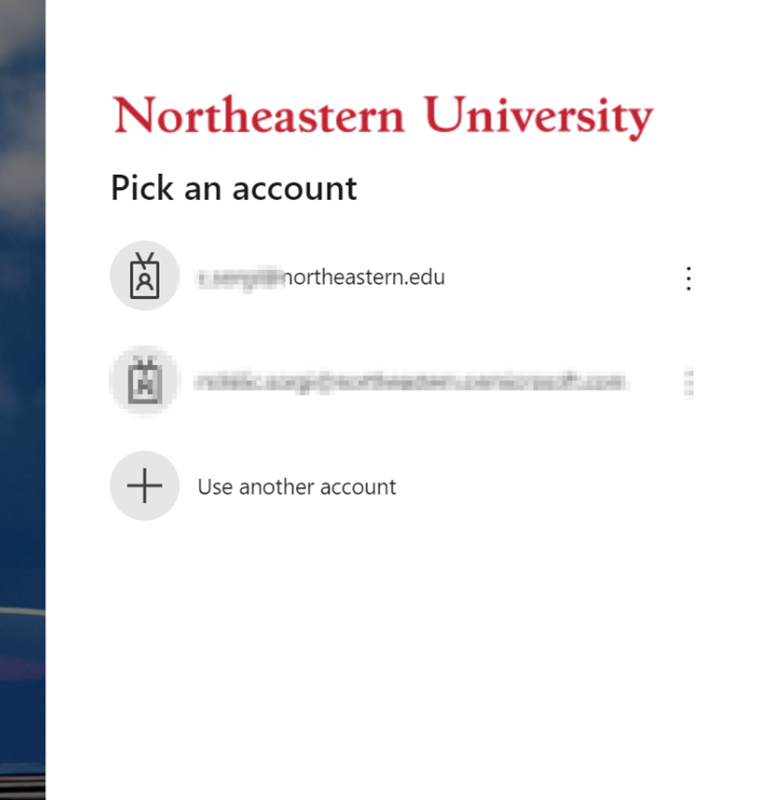
Make sure to check the box to always allow the browser to open GlobalProtect if prompted.

If the GlobalProtect client doesn’t open automatically, select 'click here'.

Disconnect from Northeastern VPN
Navigate to and select it.

Windows: The GlobalProtect icon will appear in the notification area in the taskbar at the bottom right of your screen.
Mac: The GlobalProtect icon will appear on the menu bar at the top of your screen.
Select 'Disconnect'.
Comments